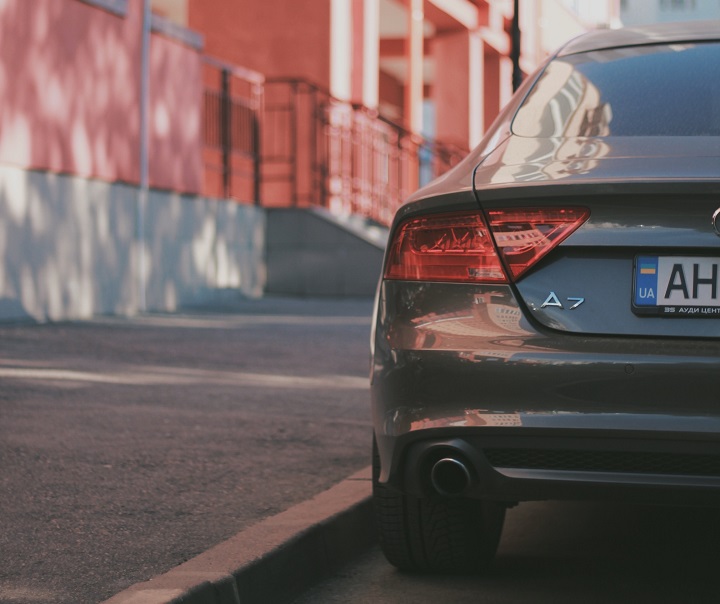
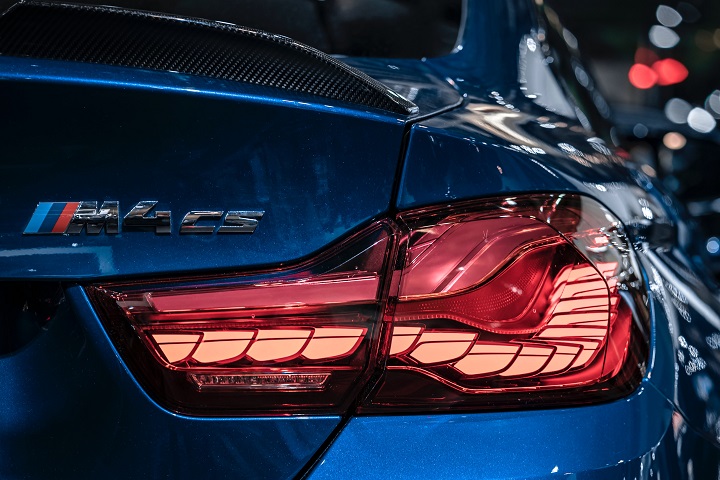
Tail lights are one of those vehicle essentials that you don’t really think about until they’re damaged or not functioning at all. A cracked, fogged or broken tail light can also earn you a ticket, so it’s best to replace it as soon as you notice something’s wrong with it. Most modern tail lights are sealed units, which makes them easy to replace given that you have the proper tools for the job. These typically include nothing more than a set of screwdrivers, some masking tape and your hands. So, if you are a confident do-it-yourselfer and you want to undertake the project of replacing your vehicle’s tail lights, it’s time to take some notes.
Inspection & Preparation
Once you get your new vehicle tail lights, make sure you inspect them to see whether they are in good condition. You don’t want to uninstall your vehicle’s old tail lights only to realize that your new ones are broken. Keep an eye out for cracks and scratches – some inside parts might have also been damaged during delivery. Once you are certain that everything is in optimal condition, you can start preparing your tools. For this purpose, you will need a Phillips screwdriver, a torque wrench and some masking tape. Before you start with the process, make sure that the tools you have are the right type and size.
Disconnect the Battery
Before you do anything, it’s important that you disconnect your battery’s negative battery terminal. Please be aware that some vehicles, especially newer GM’s, have an extremely sensitive electrical system. If you don’t disconnect the battery before you start with the installation process you might end up blowing up the tail lamp fuses or cause some other damage. So, play it safe and simply remove the battery’s negative terminal to ensure there is no electricity running through your system so that you can safely connect your new tail light.

Remove the Old Taillight
To remove your old tail light, you need to open your trunk or tailgate. Use your Phillips screwdriver to unscrew it from the front while holding the tail light from the inside of your trunk as you don’t want it to fall and get damaged. Once the screws are out, it’s time to remove the bulbs from the lens. All bulbs have a universal screw and can be removed by turning them counterclockwise.
Properly Store the Old Taillight
Make sure you store your old vehicle tail lights – just because they are damaged that doesn’t mean that all of their parts are not working. If the lens is not damaged, place it in a box along with some crumpled-up paper inside so that it doesn’t touch the walls of the box and doesn’t move around. If the bulbs are not damaged, you can store them in zip-lock bags or in a small box with some thin crumpled paper, as you did with the lens. It’s always a good idea to keep spare functional parts from your old tail lights because you never know when you can reuse them.
Connect the New Taillight
Before you begin installing your new vehicle tail lights, make sure that you apply masking tape around the edges of the tail lights to protect them from any scratches that might occur during the installation process. The installation process is pretty much the same as the removal of the old tail light, only reversed. First, connect the bulbs to the lenses by holding the lens close to the bulbs so that you can put them in place and turn them clockwise to lock them inside the lens. Next, move the tail light from the inside of the trunk until it is perfectly positioned in the tail lights space. Then, check from the outside whether the screw holes are lining up properly and try to feel if all corners are touching the edges. After that, simply tighten the screws back in to hold the tail light and you are almost done.
The Final Touch
Once the new taillight has been screwed into place, all that’s left for you to do is remove the masking tape from your vehicle’s tail lights edge and connect the battery again. Once you remove the masking tape, you can use a cleaning solution to remove any scuffing that’s left from the tape. After the battery has been connected, make sure to check whether all functions of the taillight work – check the brake lights, backup lights as well as the turn signal lights.