Safety-wise, the most important part of any vehicle are the brakes and there’s no doubt about it, but oftentimes they are so undermined that most of us don’t even know in what state they are or if they need to be replaced. That being said, for every vehicle owner, it’s important to go over certain key factors regarding brakes so that one doesn’t end up spending money on something they don’t need in the first place. Before you begin with the examination, first make sure to do this in a well-ventilated area and wear a protective paperback, but most importantly, avoid inhaling the dust from the drum brake.
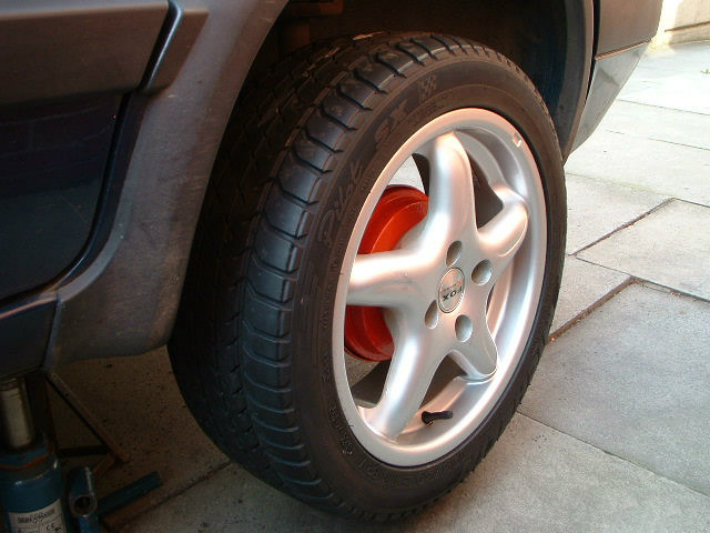
1. First, you need to start by lifting your vehicle and removing a tire. You will either have a hubbed or a hubless (floating) drum and the way to find out which one you have is to check if there is a wheel bearing inside it and if there is one, that means you have a hubbed drum. A hubless drum goes over the lug nut studs that hold the wheel.
2. Then you just pry off the grease cap, which is located at the end of the hub, with a pair of combination slip-joint pliers. If you have a hubless drum brake avoid the steps from 3 to 6 as you just need to slide it out of the hub and you are done. In case this seems difficult, strike the drum with a hammer and you’ll be able to loosen up the drum from the hub.
3. Take note of the cotter pin, how its legs are bent, its direction, how it fits through the castellated nut and how tight it is as this will be helpful for the next step. If it’s easier, just snap a photo of it.
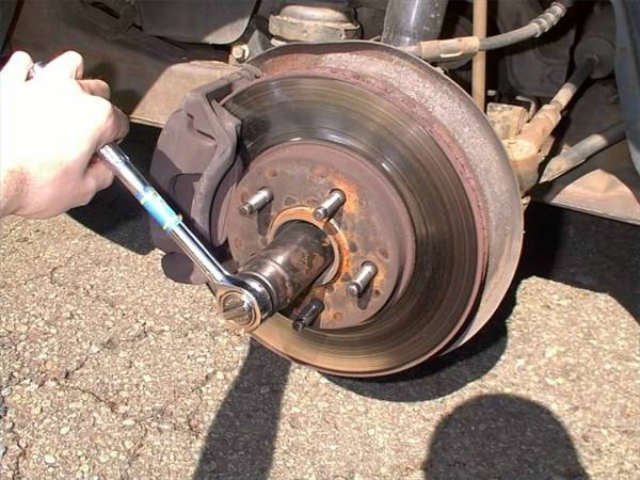
4. Next, straighten the cotter pin and remove it from the castellated nut using needle-nose pliers and lay it down on a clean rug in the same direction as it was before you pulled it out.
5. After that just slide out the castellated nut or the nut-lock-and-nut combination off the spindle and place it on the rag next to the cotter pin – if it’s greasy, make sure to wipe it off with a lint-free cloth before placing it on the rag.
6. You should then grab the drum and pull it towards you, but don’t slide it off yet as you still have the outer bearing and washer in front of it which you need to carefully slide off the spindle. Make sure to check the bearings for wear too.
7. After that just slide out the drum, again carefully, together with the inner bearings inside it. Remember not to blow away the dust as inhaling it can make you very ill, just saturate it by spraying the drum with a brake part cleaner and have your mask whilst doing so. When you are done saturating it, wipe the drum with a clean rag, place the rag in a plastic bag and get rid of it that same instance.
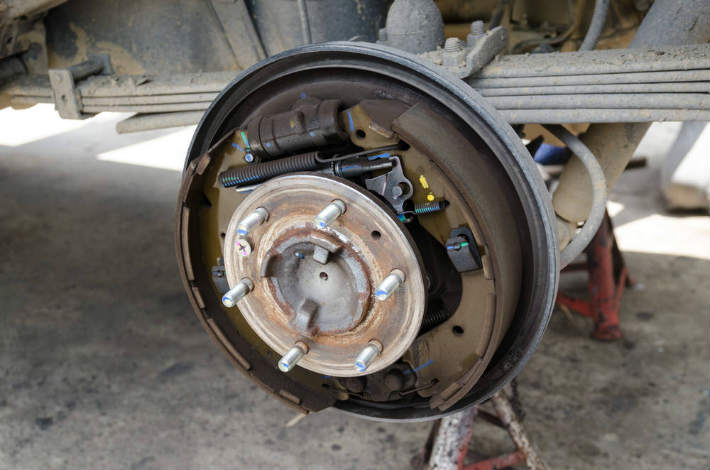
8. Take a good look at the inside of the drum, in case you see grooves on the inner walls from wear and if they look unusually deep or there are hard or burned spots go to a service facility to check if the drum is worn past the legal limit. In some cases, you’ll just need to get them regrounded rather than replaced.
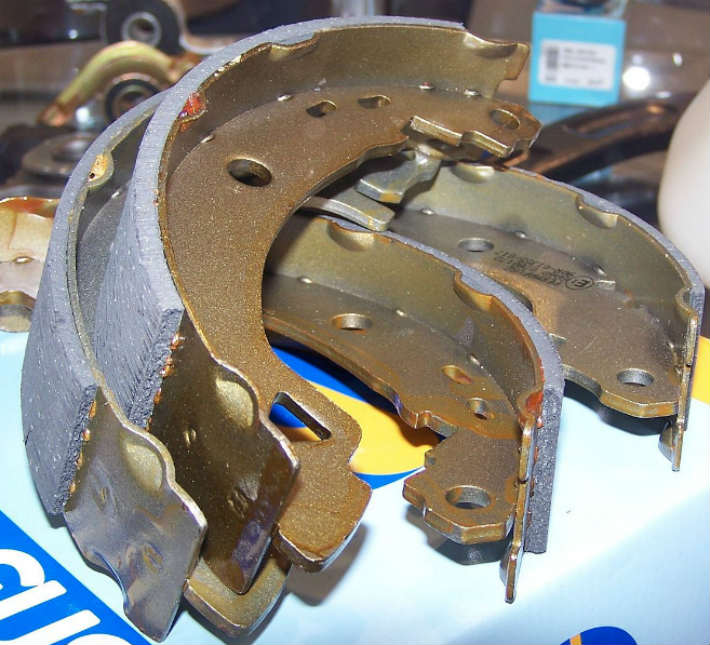
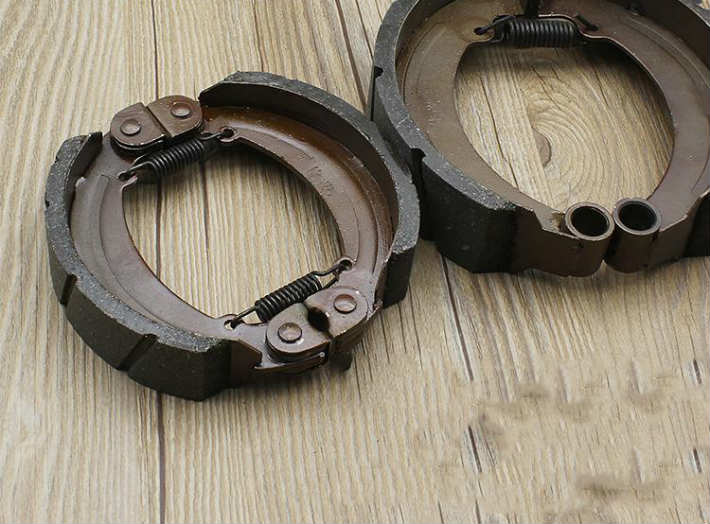
9. You should also check if the wheel cylinder shows any signs of leaking brake fluid, while the brake shoes and linings should be evenly worn and have no bald spots or thin areas. The linings should be riveted or bonded firmly to the brake shoes and they should be at least 1.58mm from the steel part of the brake shoe.
10. Finally, check if your brake pedal activates your brakes before it goes halfway down and if not, check the linings, shoes and cylinders and if they are alright, then it means that your adjusting devices are not working properly. Try to make a couple of reverse stops as it is a common solution in this particular case.
Material
I know steel might seem like the best option for a drum brake and although it is a stronger material than aluminium, it doesn’t dissipate heat very well and it is not as light as aluminium. But this doesn’t mean you can’t use them together – for getting the best of both worlds, make sure you get an aluminium drum with a steel lining inside. Aluminium is also best for fade reduction, but make sure it also has an anti-corrosive coating such as a silver zinc layer or gun metal finish which can give the part longer lifespan.
Type
You can get an individual brake drum, a drum brake pair or a complete kit which, of course, will cost the most, but it will provide you with all the necessities you need to change all 4 drums. A kit is the best way to go since it will help avoid uneven wear and allow you to replace the axel pairs together.
Holes
Not only do they look cool with low profile tires, holes on the drum also help the brake rotor to cool off quickly which means that you will get a more efficient braking system and one that will last you longer too. Of course, not to mention that having holes on the drum is ideal when you are constantly driving in an urban area or up and down hills.