There’s nothing quite like cracking open a cold one on a scorching summer day. Beer has been the alcoholic beverage of choice for a long time. It helps build stronger bonds with the people around us, and is one of the essential ingredients of throwing the perfect barbecue party. If you’re a frequent beer consumer and enthusiast, homebrewing might be the perfect hobby for you.
What are the Benefits of Homebrewing?
Homebrewing is a trend that’s constantly increasing in popularity because of the benefits it provides over choosing store-bought beer. Firstly, homebrewing is a fun hobby that enables you to connect with other beer enthusiasts. It offers a variety of opportunities for new knowledge and skills, and it only takes the ability to follow directions and a little patience to start with.
It’s also much cheaper in the long run, compared to buying beer from the supermarket. Although it takes an initial investment to get started, after you get the right brewing equipment, your only expenses will be the ingredients that you can buy in bulk.
Homebrewing gives you a chance to create your own lab where you can experiment with different flavours and techniques. You get the opportunity to reshape the elements and create the best beer according to your taste. After this, you get the rewarding feeling of accomplishment and satisfaction from putting in your time and effort into brewing your own beer. You can also enter brewing contests that allow you to win cash and prizes.
Essential Homebrewing Equipment
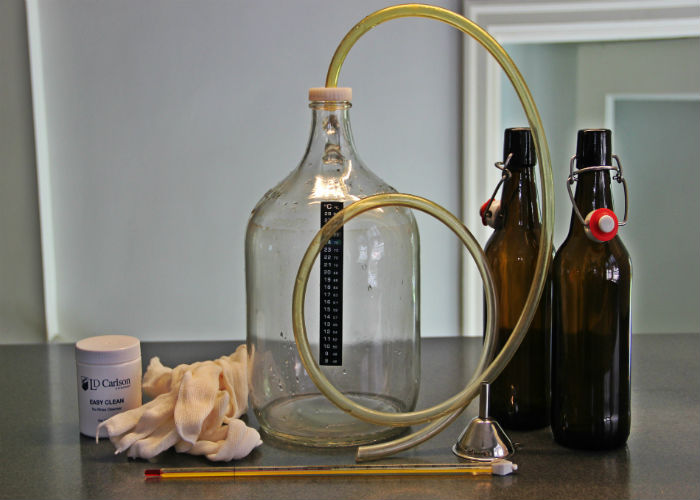
That being said, it’s important to choose the needed tools and ingredients to make sure you end up with the best result. Get started with the variety of brewery equipment for sale. You will need:
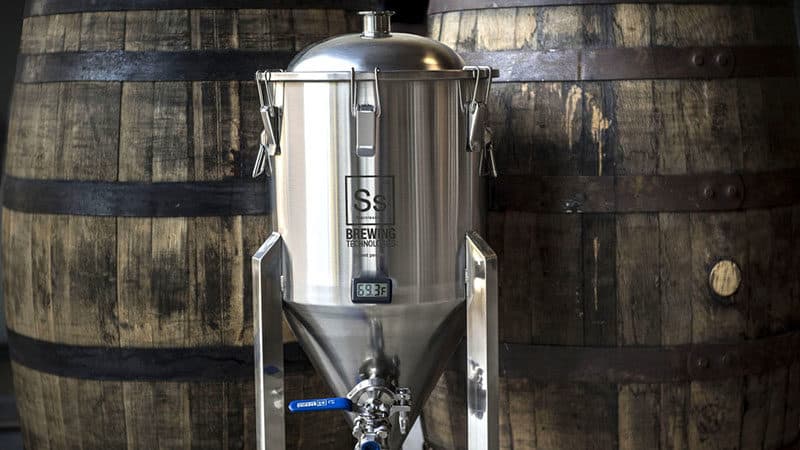
- A large fermenter (equipped with an airlock, stopper and faucet)
As the name suggests, here is where the beer will ferment. The ideal capacity for a fermenter is around 30 litres. The extra space enables the beer to foam, the airlock and stopper allow CO2 to escape from the fermenter, while the faucet allows you to conveniently transfer to the carboy for further fermentation.
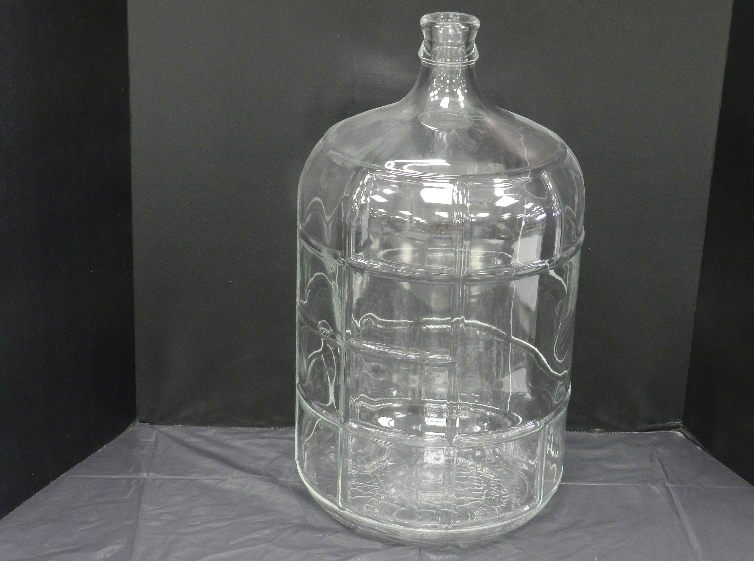
- Glass carboys
This is where the beer sits for secondary fermentation. It’s important that your carboys have secure locks to avoid any oxygen getting inside and altering the beverage.
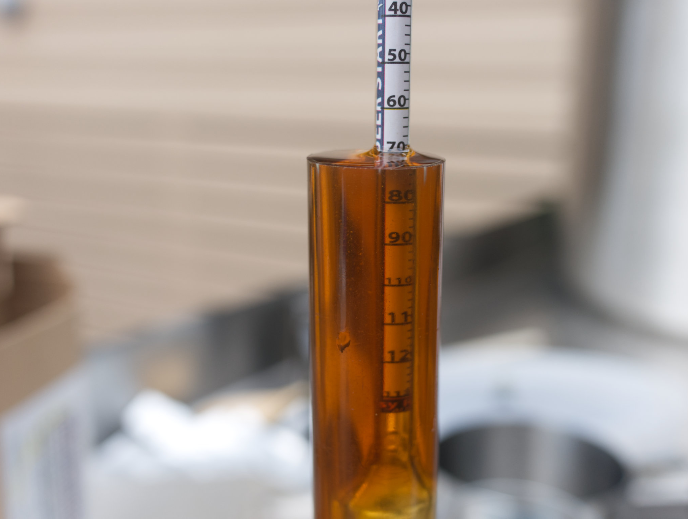
- Home brew hydrometer
This handy tool allows you to measure the alcohol and sugar content of your brew.
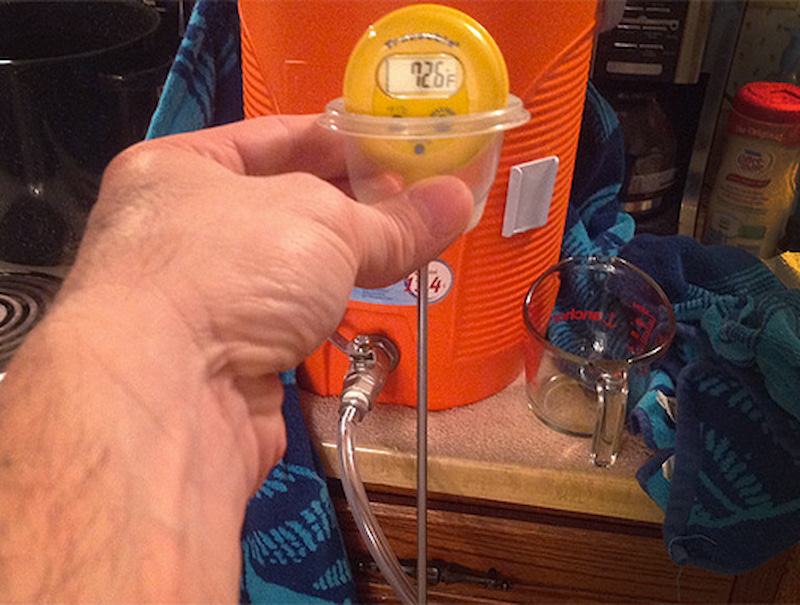
- Thermometer
It’s important to have control over the temperature of your brew, so you can’t leave out this piece of brewery equipment for sale. If it’s too cool, your yeast won’t ferment, whereas if it’s too warm you could be promoting bacterial growth or death of the yeast. To make things easier, a lot of modern fermenters come with their own thermometer.
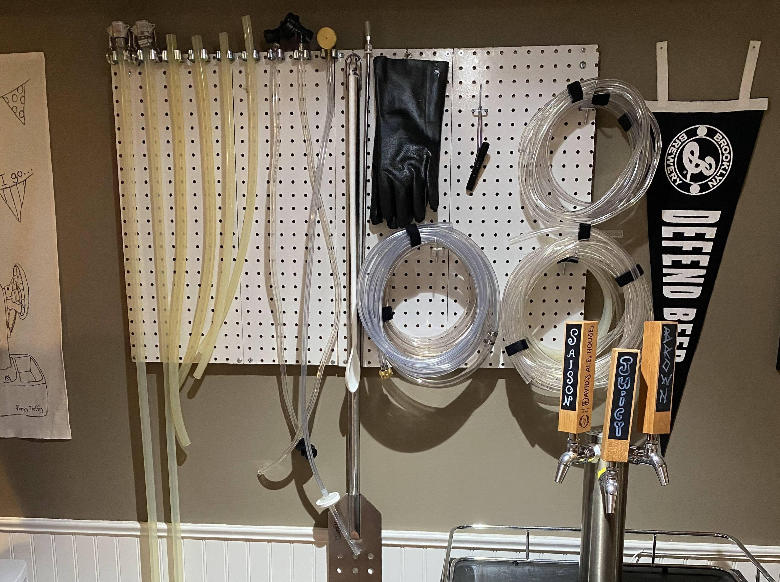
- Vinyl hose
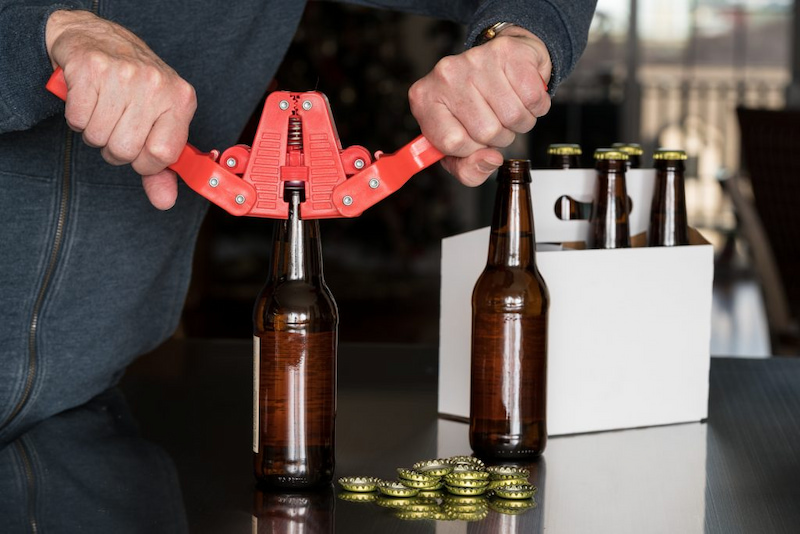
- Bottle capper
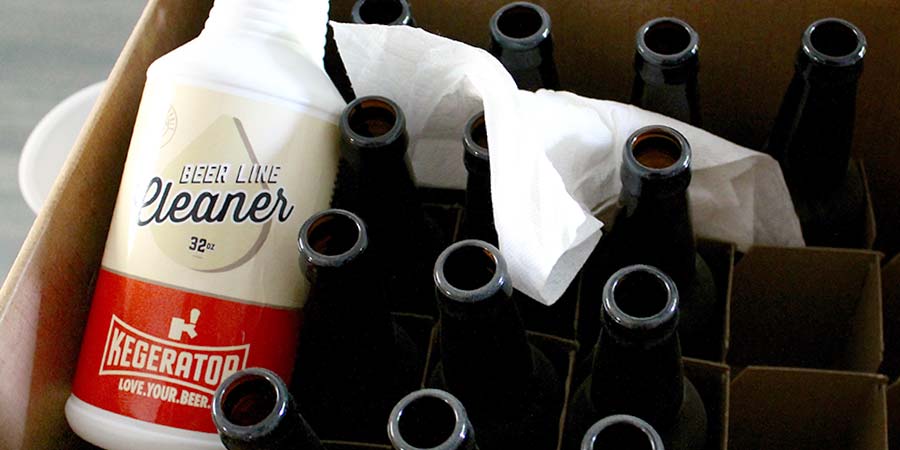
- Cleaner/sanitizer
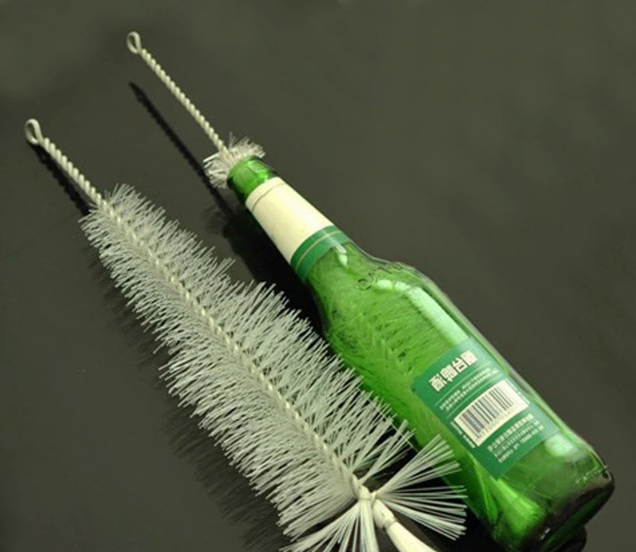
- Beer bottle brush
The right bottle brush will help you efficiently clean your bottles to make sure nothing contaminates the beer you’ve worked hard to make.
- Beer ingredient kit; An ingredient kit will provide you with all the home brewing ingredients you will need, along with recipe instructions.
To make sure you have all the equipment you need, you can opt for a complete home brew kit which contains all the essential tools and a complete recipe kit of your choice.
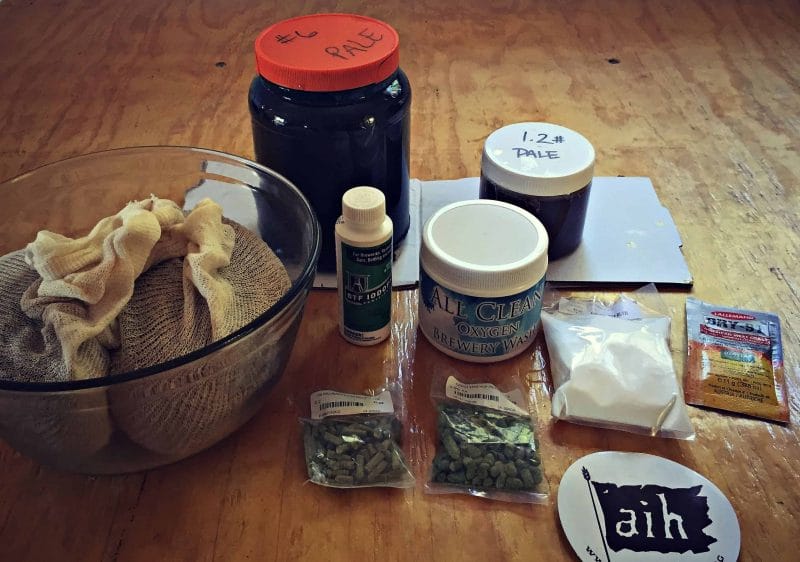
Ingredients
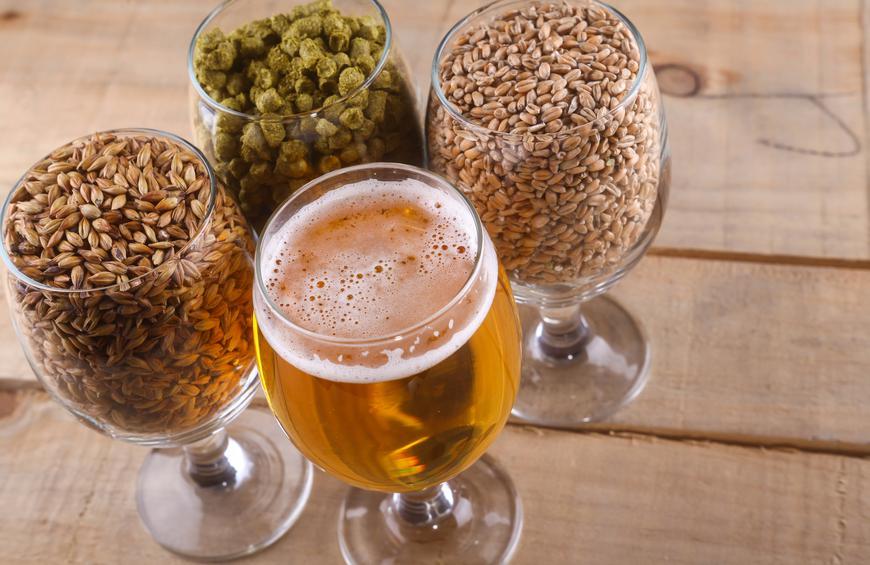
Since you have a clearer idea about the essential homebrewing equipment, it’s time to go over the four main ingredients that you will need. These are hops, grains (and/or malt extract), yeast and water.
- The hops are cones from the plant Humulus lupus. They contain alpha acids that determine the bitterness of the beverage. The higher the percentage of alpha acids – the more bitter your brew will be. The boiling of the brew needs to last 60 or more minutes to allow these acids to release the bitterness (as they’re not readily soluble in water). You also need to add hops at the end of the boil so that they impart aroma and fragrance.
- Grains give your brew flavour, aroma, colour and body type. Even if you’re using malt extract, it’s beneficial to add a small amount of specialty grains to improve the quality of the beverage. Before you use them in making beer, they need to be milled (crushed). You should make sure your grains are fresh and stored properly.
- Using malt extracts is convenient for making beer, especially for new brewers. Their quality has improved a lot over the years and the extracts of today produce exceptional results. Malt extracts are available in liquid and dry form. The dosage you will need varies depending on the type of extract you choose.
- Yeast has a vital role in fermentation of the beer. It works by consuming the malt sugars and producing alcohol and CO2. Similar to the malt extracts, it comes in a liquid and dry form. Dry yeast has longer shelf life than the liquid type; however, it doesn’t have as much variety.
- The content of beer is more than 90% water, so it’s important that you use quality water in your brews. It should be clean and without any odours (such as chlorine). Although there are brewers that specifically adjust their water, most of the time you can make perfectly good beer with ordinary tap water.
Step-by-Step Guide to Homebrewing
Once you establish your home brewery and gather all the essential brewery equipment for sale, plus ingredients, it’s time to start brewing. The first step is to clean and sterilize the equipment you’re using. If you’re using a beer kit, make sure to warm it up in hot water before adding it to the fermenter. Add the hops to boiling water and let them sit for a few minutes. After the water is cooled – strain the liquid and add it to your brew.
Add the yeast and let the mixture ferment for 7-10 days. During this time, you need to frequently check the temperature and the SG level. Different types of beers require different temperatures for the fermentation process. You can find this information in the instructions that come with your kit.
After the brew finishes its second fermentation stage, it’s time to start bottling. Make sure you properly clean and sterilize your beer bottles and place a carbonation drop before bottling your brew. Seal them tightly with a capping tool and shake them to make sure that the carbonation drop dissolves completely.
After bottling your beer, you need to let it mature for a certain time period. The longer you leave it – the better taste it will have. The best place for maturing your brew is somewhere cool, where the temperature doesn’t fluctuate. Homebrewing is a fun activity that isn’t too hard to master. If you want to explore different beer flavours, this is the ideal hobby for you!